
Easy (and inexpensive) Glass Shell Picture
This is a super simple project and makes a great gift. It utilizes mostly items from the dollar store – picture frame, shells, floral sand, hot glue, flat backed glass marbles etc. You can also collect small pieces such as shells and sticks from the beach on your next walk.
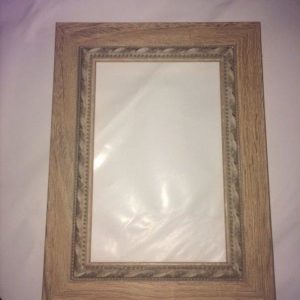
First, you will need to take the back of your photo frame off, exposing just the glass. In order to keep the glass inside the frame, you will need to put a bead of hot glue, or glass glue around the inside of the frame to hold the glass in place.
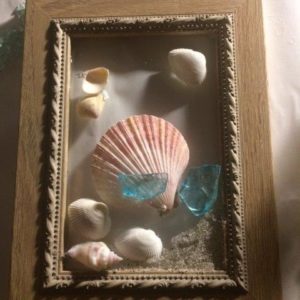
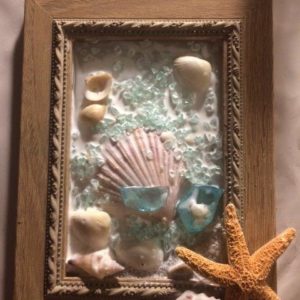
Secondly, play around with your shells and other items until you are happy with the look. Once you are, simply glue the items in place. I used hot glue because I’m impatient and don’t like waiting for glass glue to dry…other glues such as Crazy glue will cause your glass to ‘fog’ up or turn white permanently so if you are unsure, test a small area or try on a glass bead first.
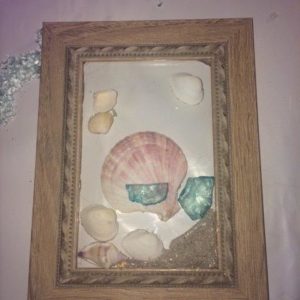
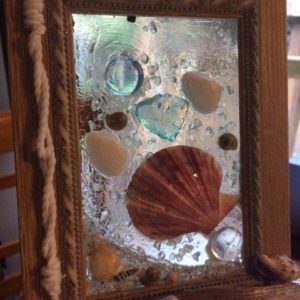
For the sanded area, I added some hot glue and poured the sand over, shaking off the excess. You can add another layer if you have missed a spot or if you weren’t happy with your first attempt.
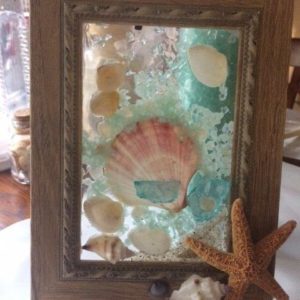
You can also decorate the frame if you like. The starfish was a find at a local craft store. Another great place for shells is at thrift stores – I’ve found lots of beaded shell necklaces that you can take apart for decoration. Thrift stores are also great for second hand frames if you cannot find them at the dollar store in the size or look that you want.
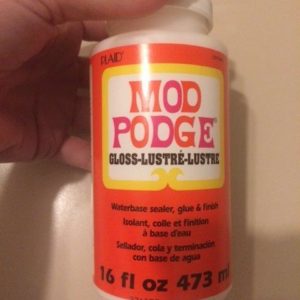
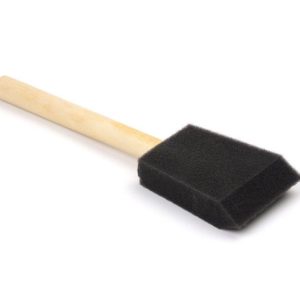
Once you are happy with the look of your picture, you will need to glaze the entire project (inside the glass – I also glazed over the items that I glued on the outside of the frame) with a layer or two of Mod Podge. Mod Podge is a simple brush on or pour on medium that can be purchased at the craft store. This dries fairly quickly but I always leave the project overnight so items don’t start to slide if they are not properly dry. At this stage, if you want to add any glitter or glass gravel (as I did, from the dollar store), now would be the time to sprinkle it over the wet glaze. Allow to dry flat.
Voila! Your project is now complete – these look great with some light coming in behind them. You can center a small circle screw on the top of your frame and hang in the window with a suction cup, or use a plate stand to show off your handy work.
Remember you don’t need to stick to a beach theme, there are lots of things that you can use to decorate these window pics – small toys and stickers for a child’s room, dollar store items such as flower stickers or dragonflies and beads…it’s easy to customize!

Kat Theus is the marketing manager at Nanaimo Seniors Village and an avid crafter. She often helps with a monthly paper crafting/stamping group at the independent living building.
For more information call 250-760-2325.
www.retirementconcepts.com/locations/nanaimo-seniors-village